EN
EN
 AR
AR
 BG
BG
 NL
NL
 FR
FR
 DE
DE
 HI
HI
 IT
IT
 JA
JA
 KO
KO
 PL
PL
 PT
PT
 RO
RO
 RU
RU
 ES
ES
 TL
TL
 VI
VI
 TH
TH
 TR
TR
 MS
MS
 HY
HY

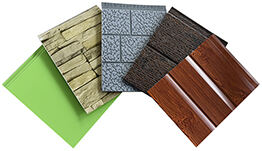
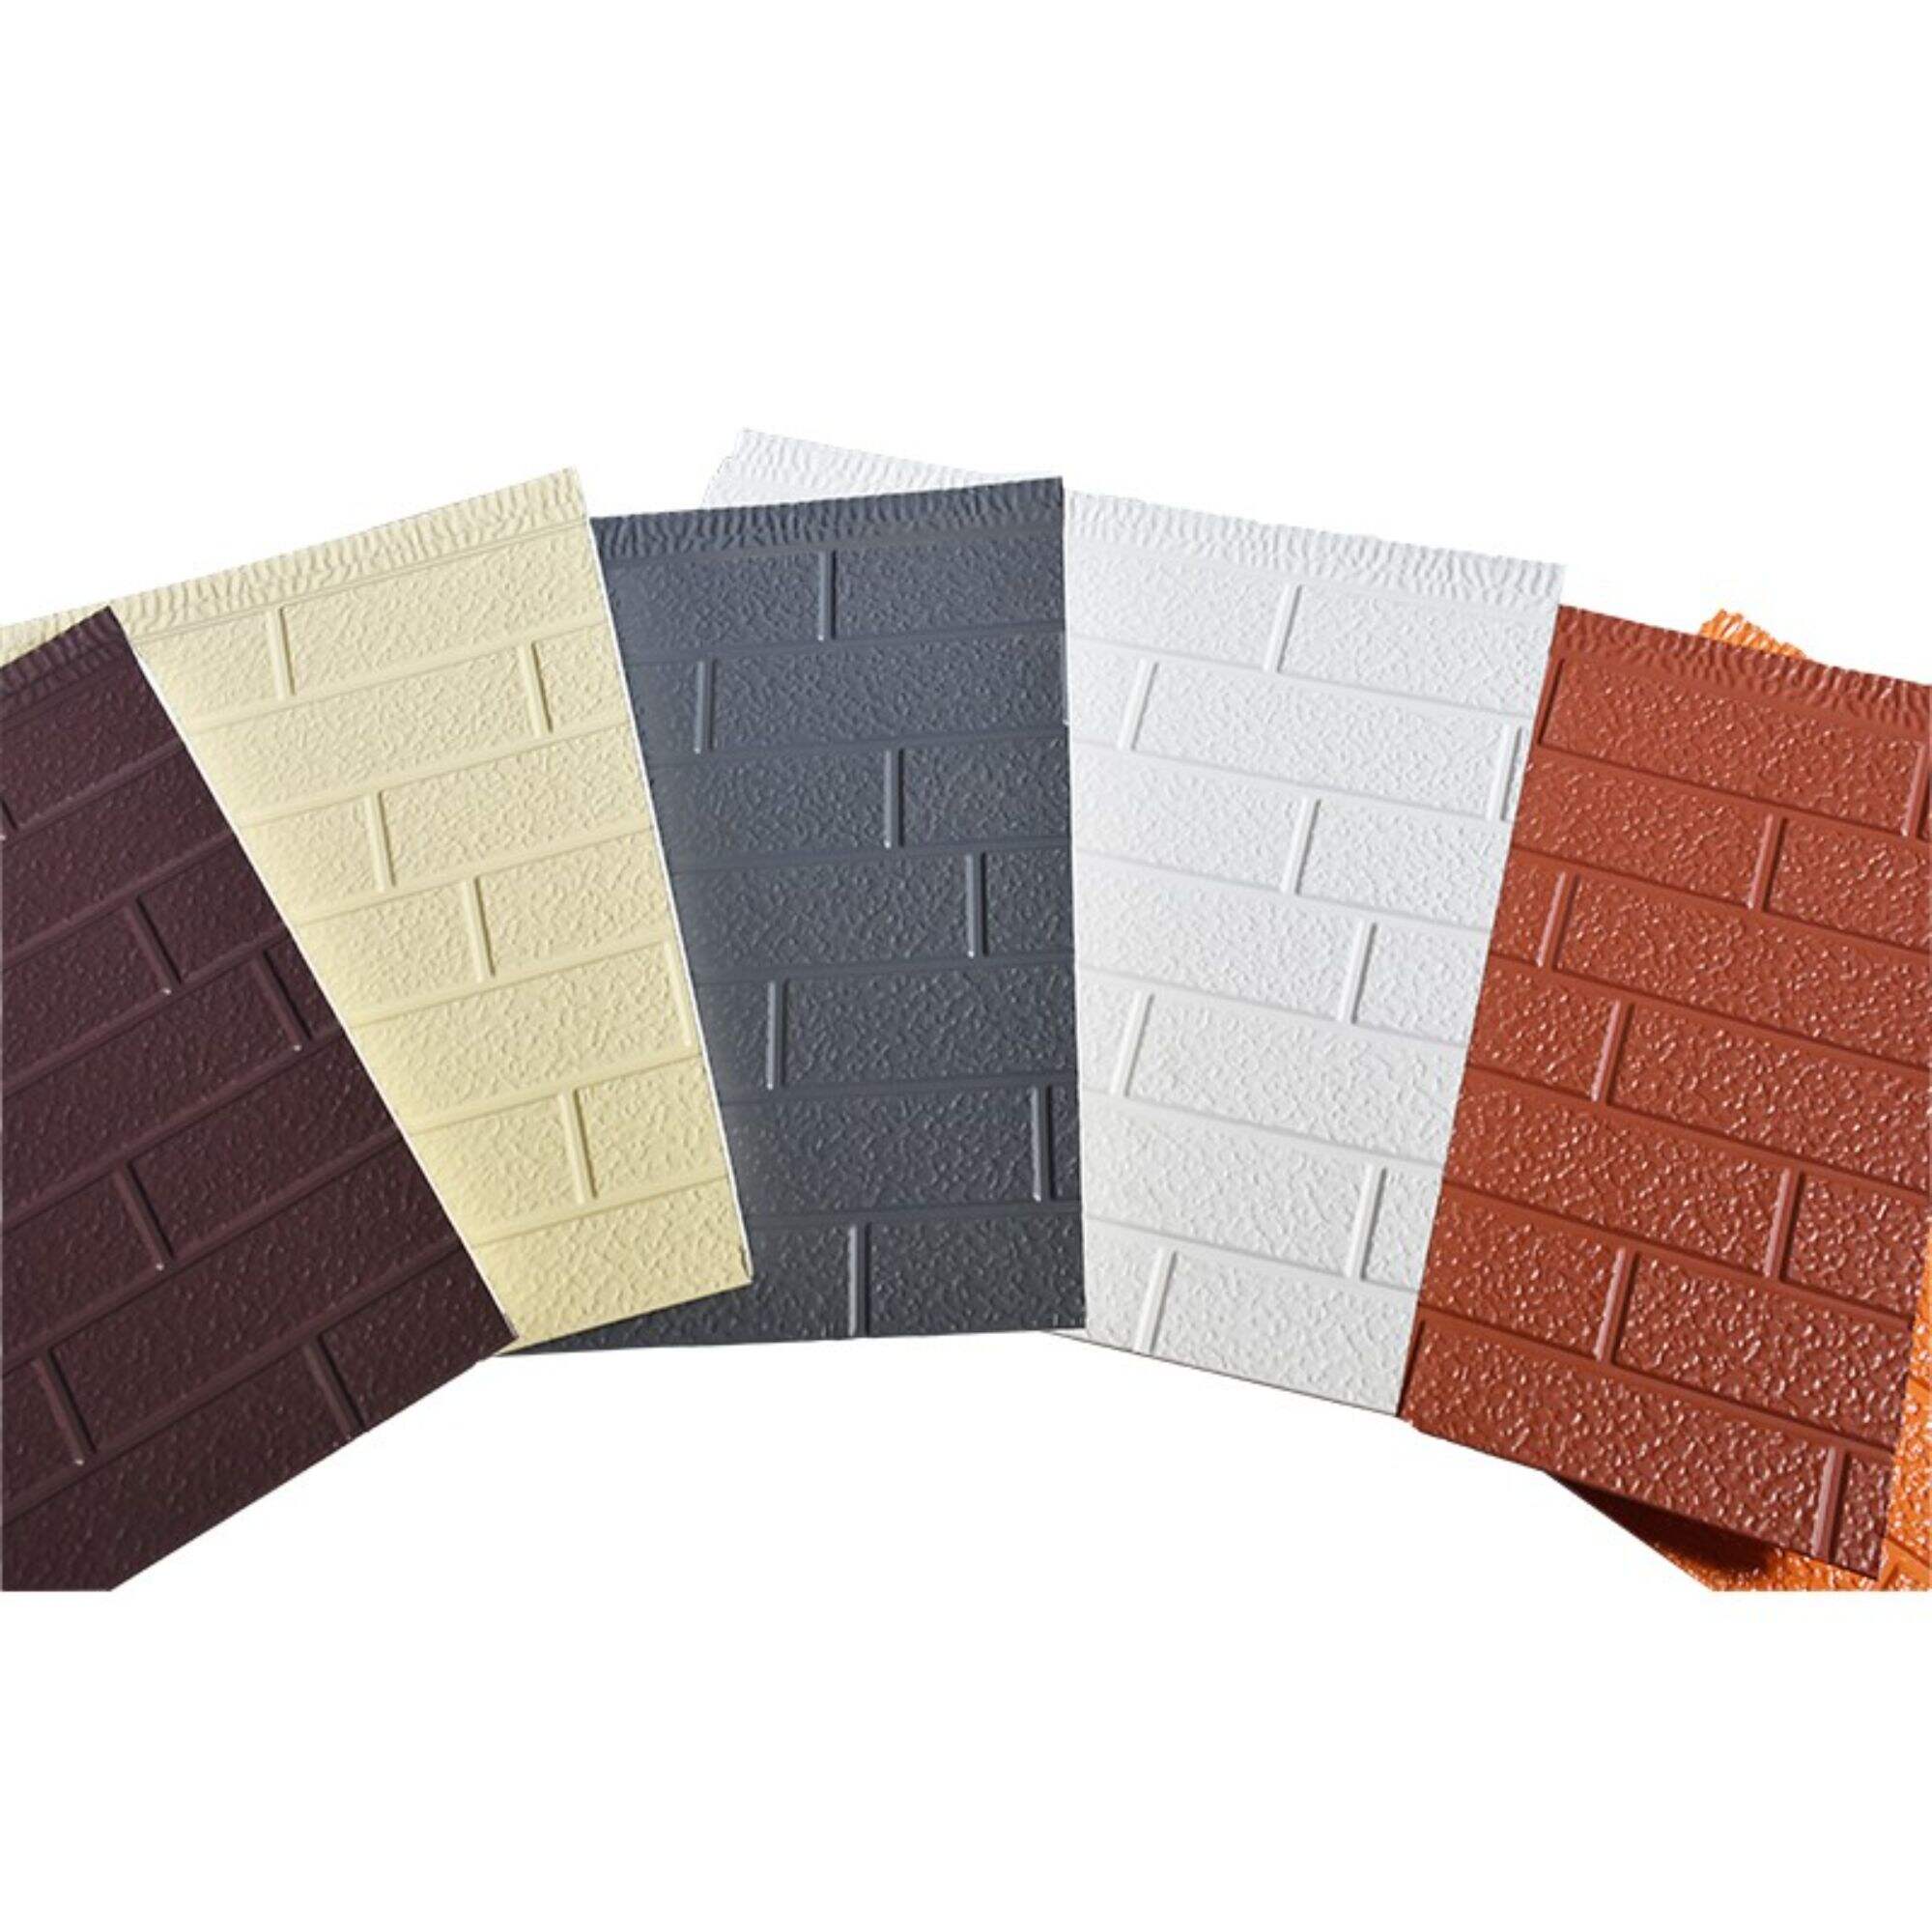
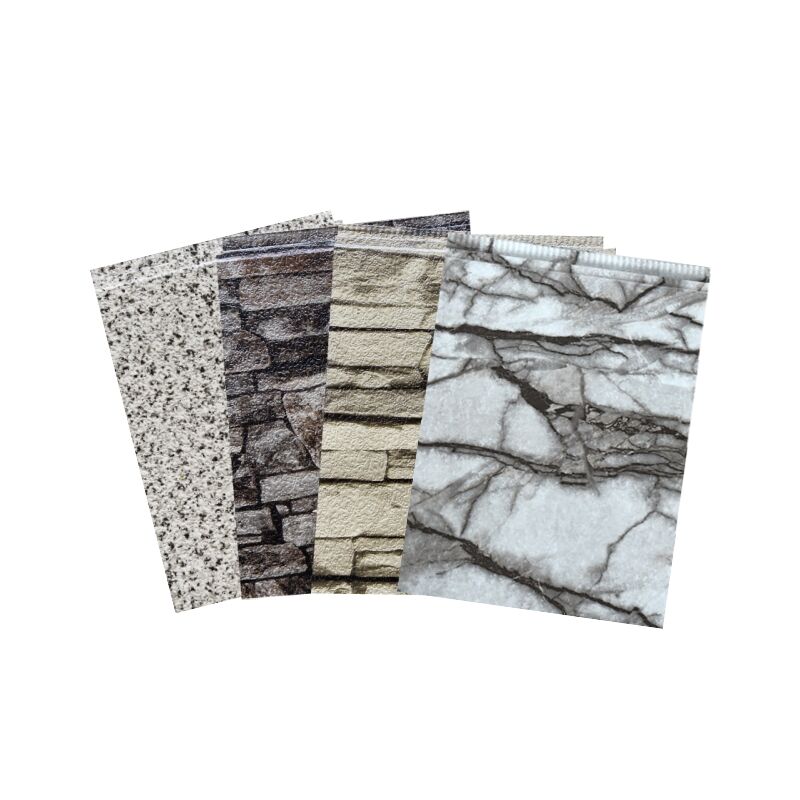
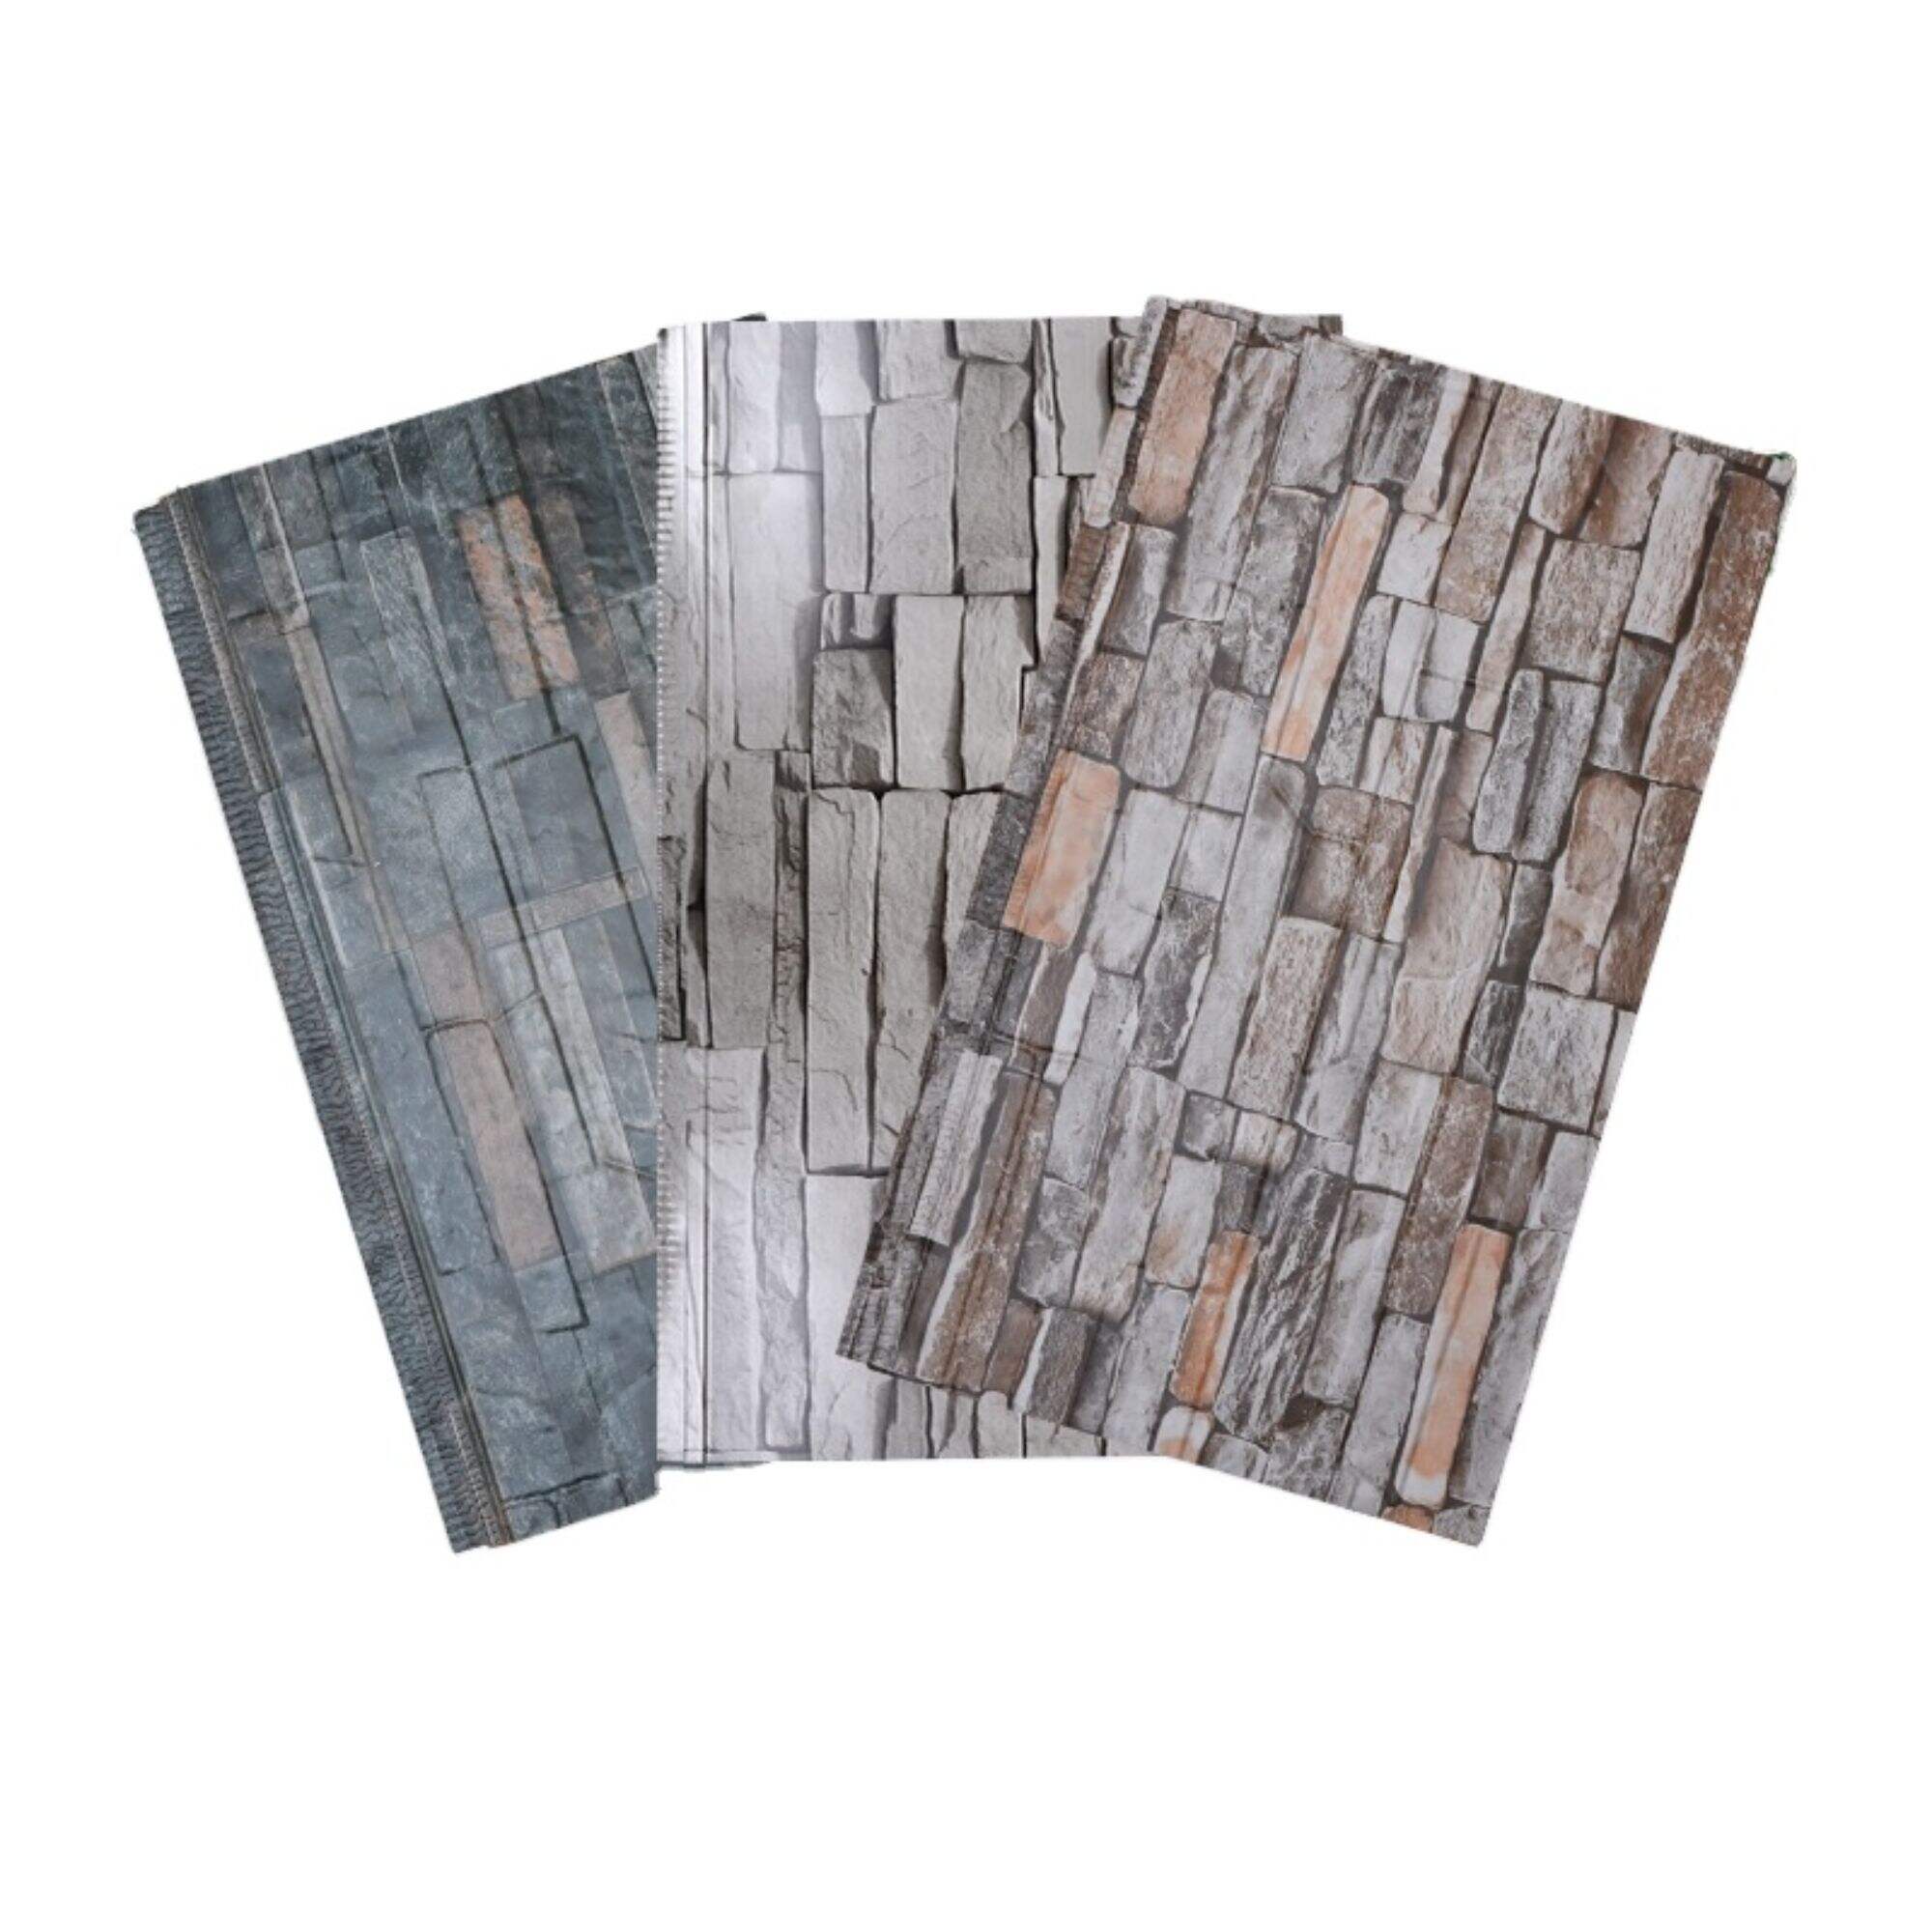
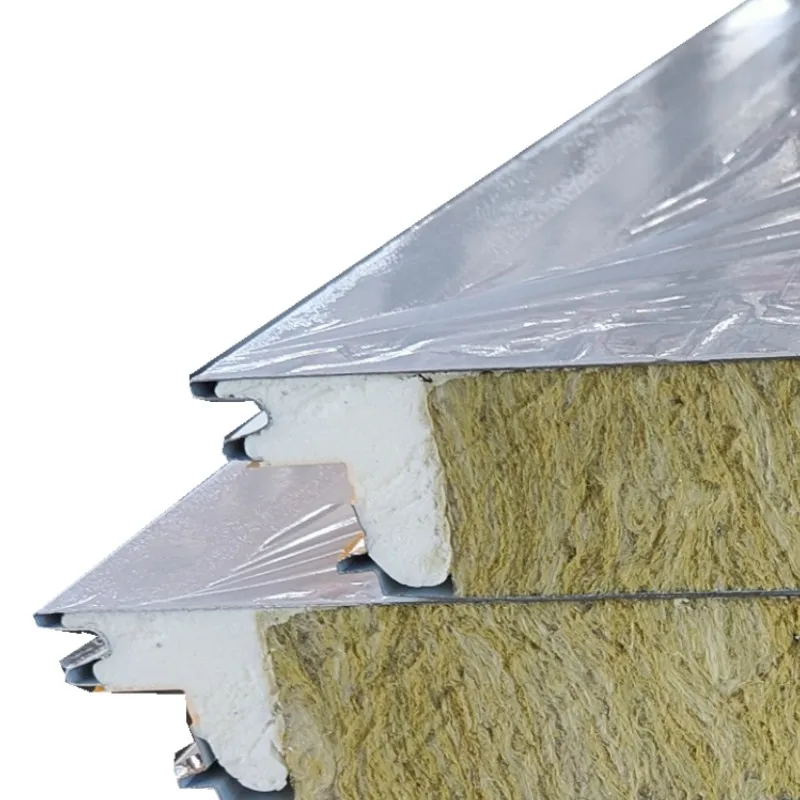
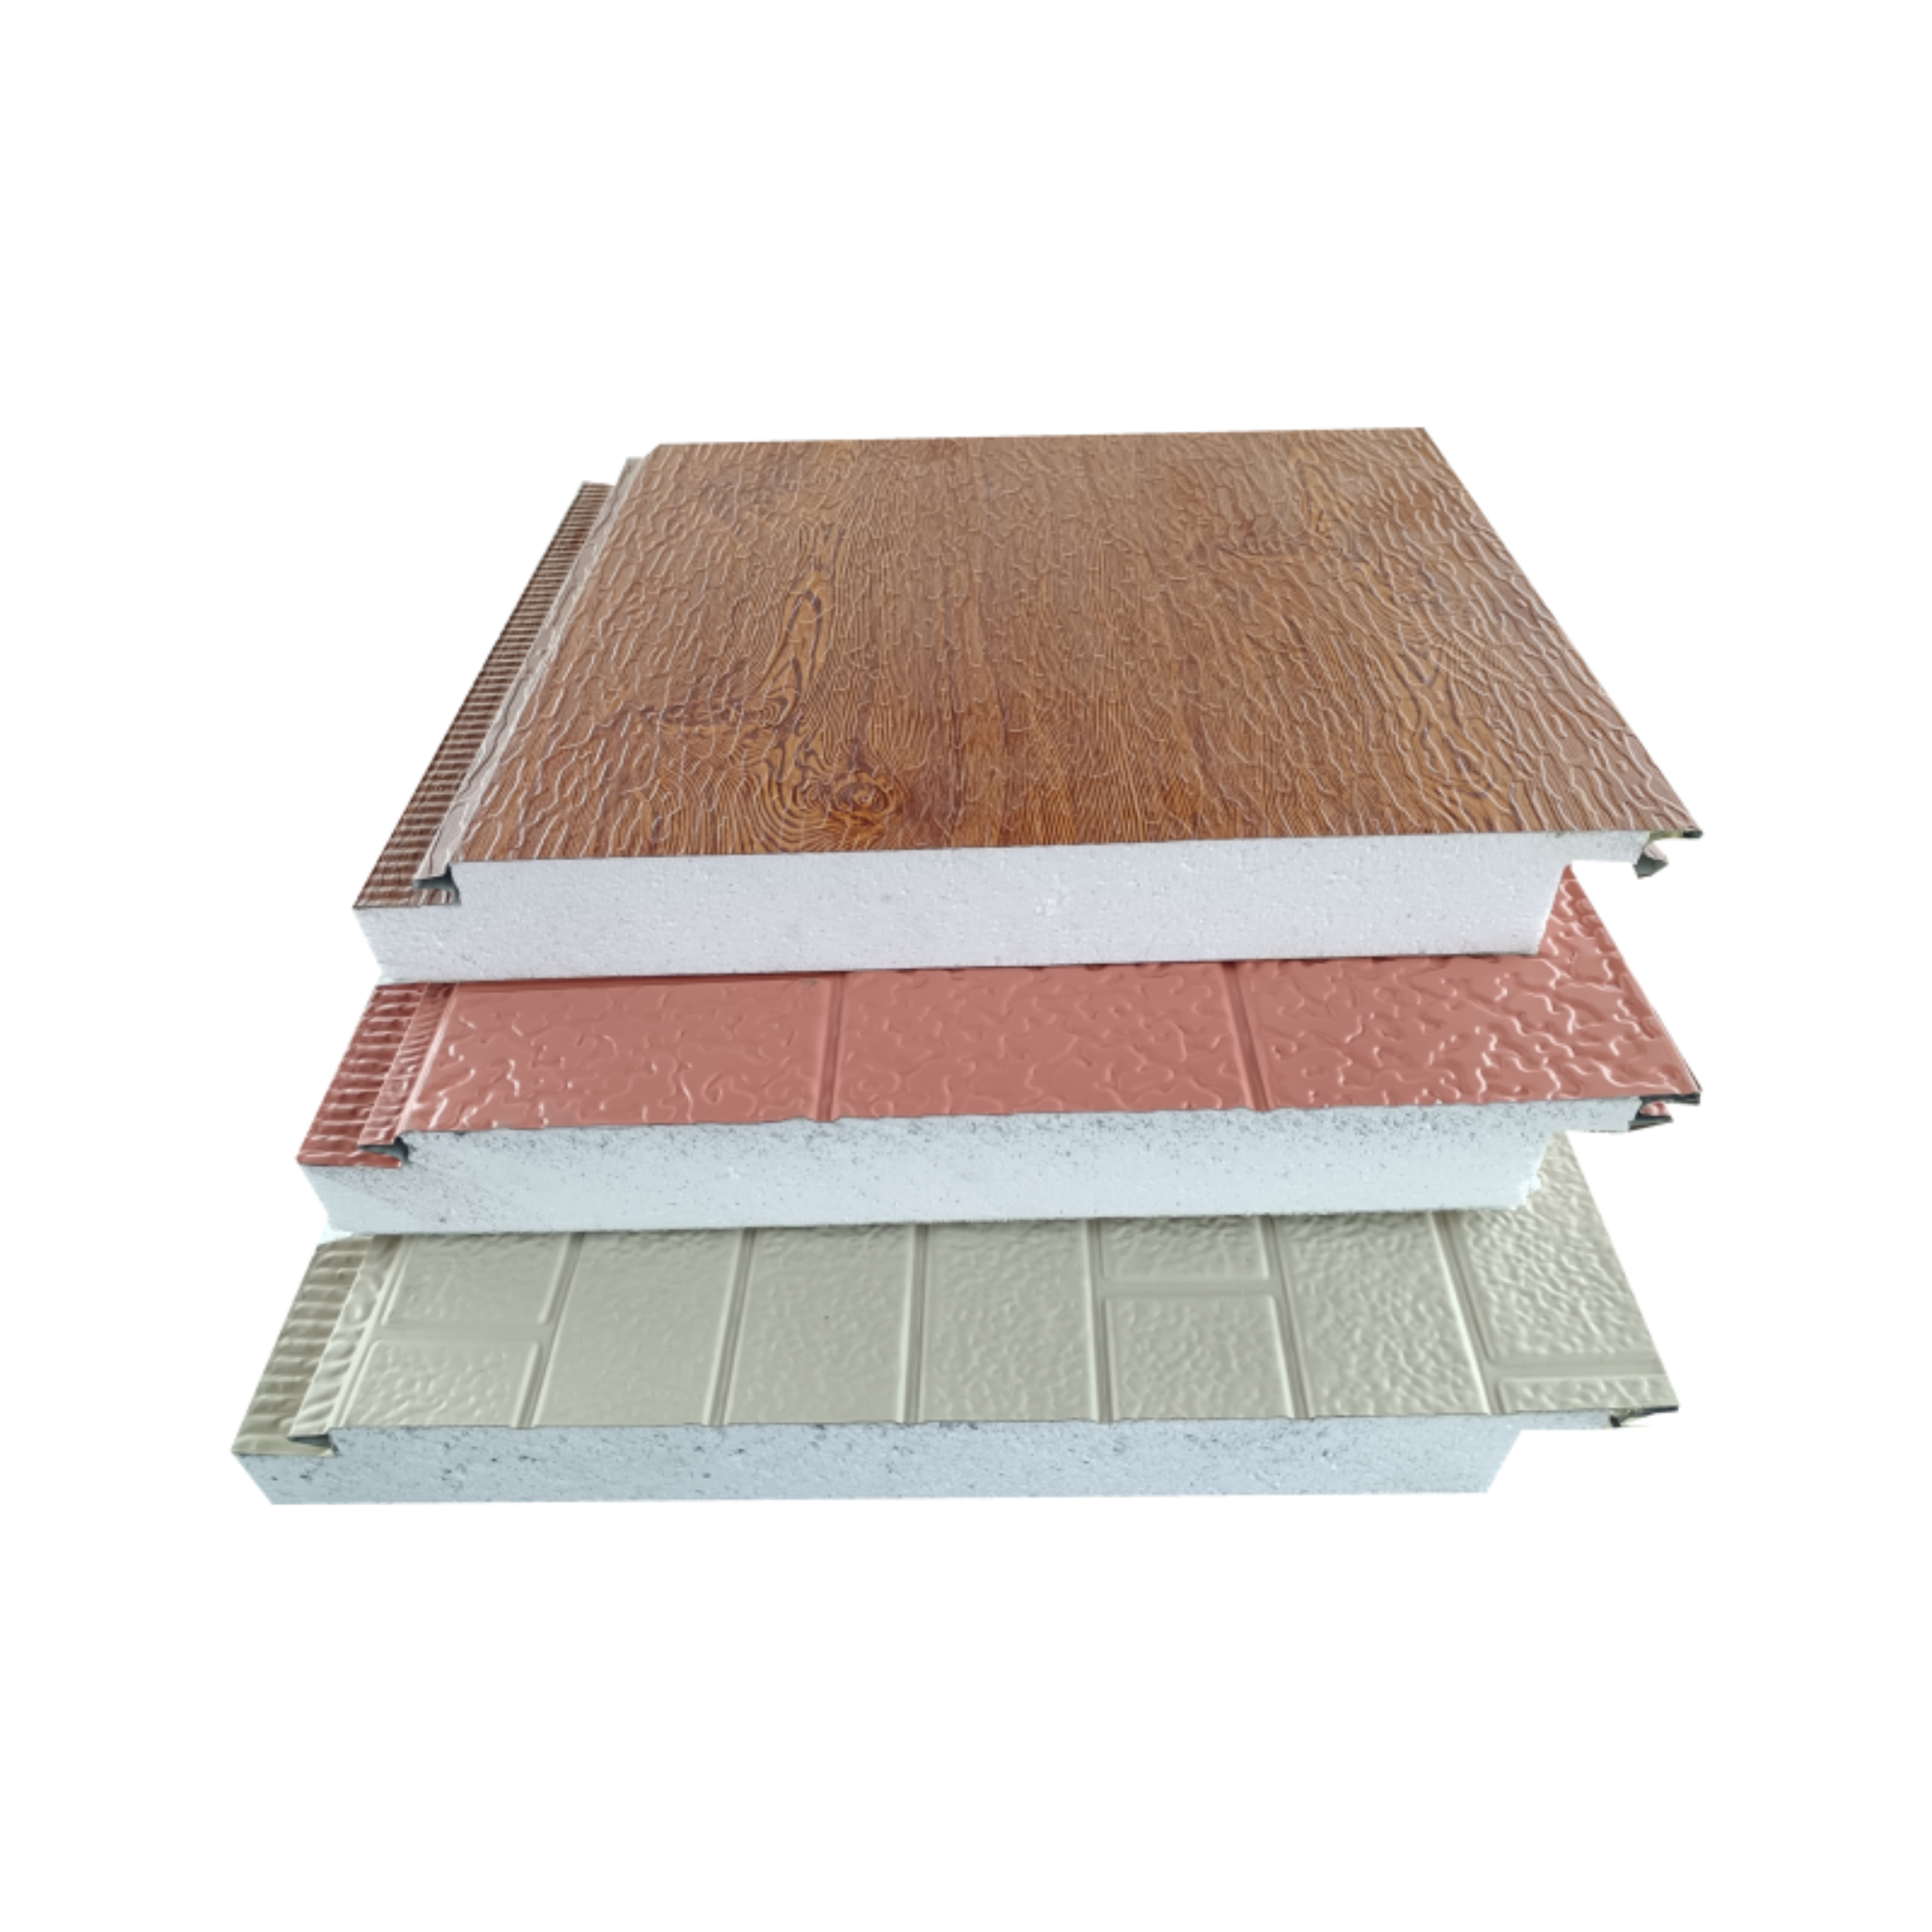
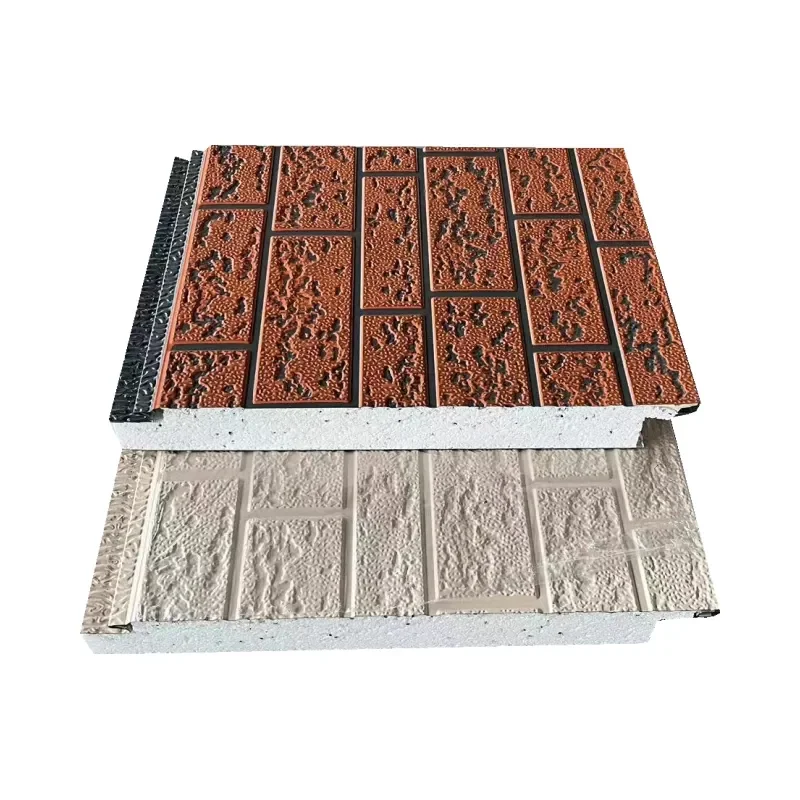
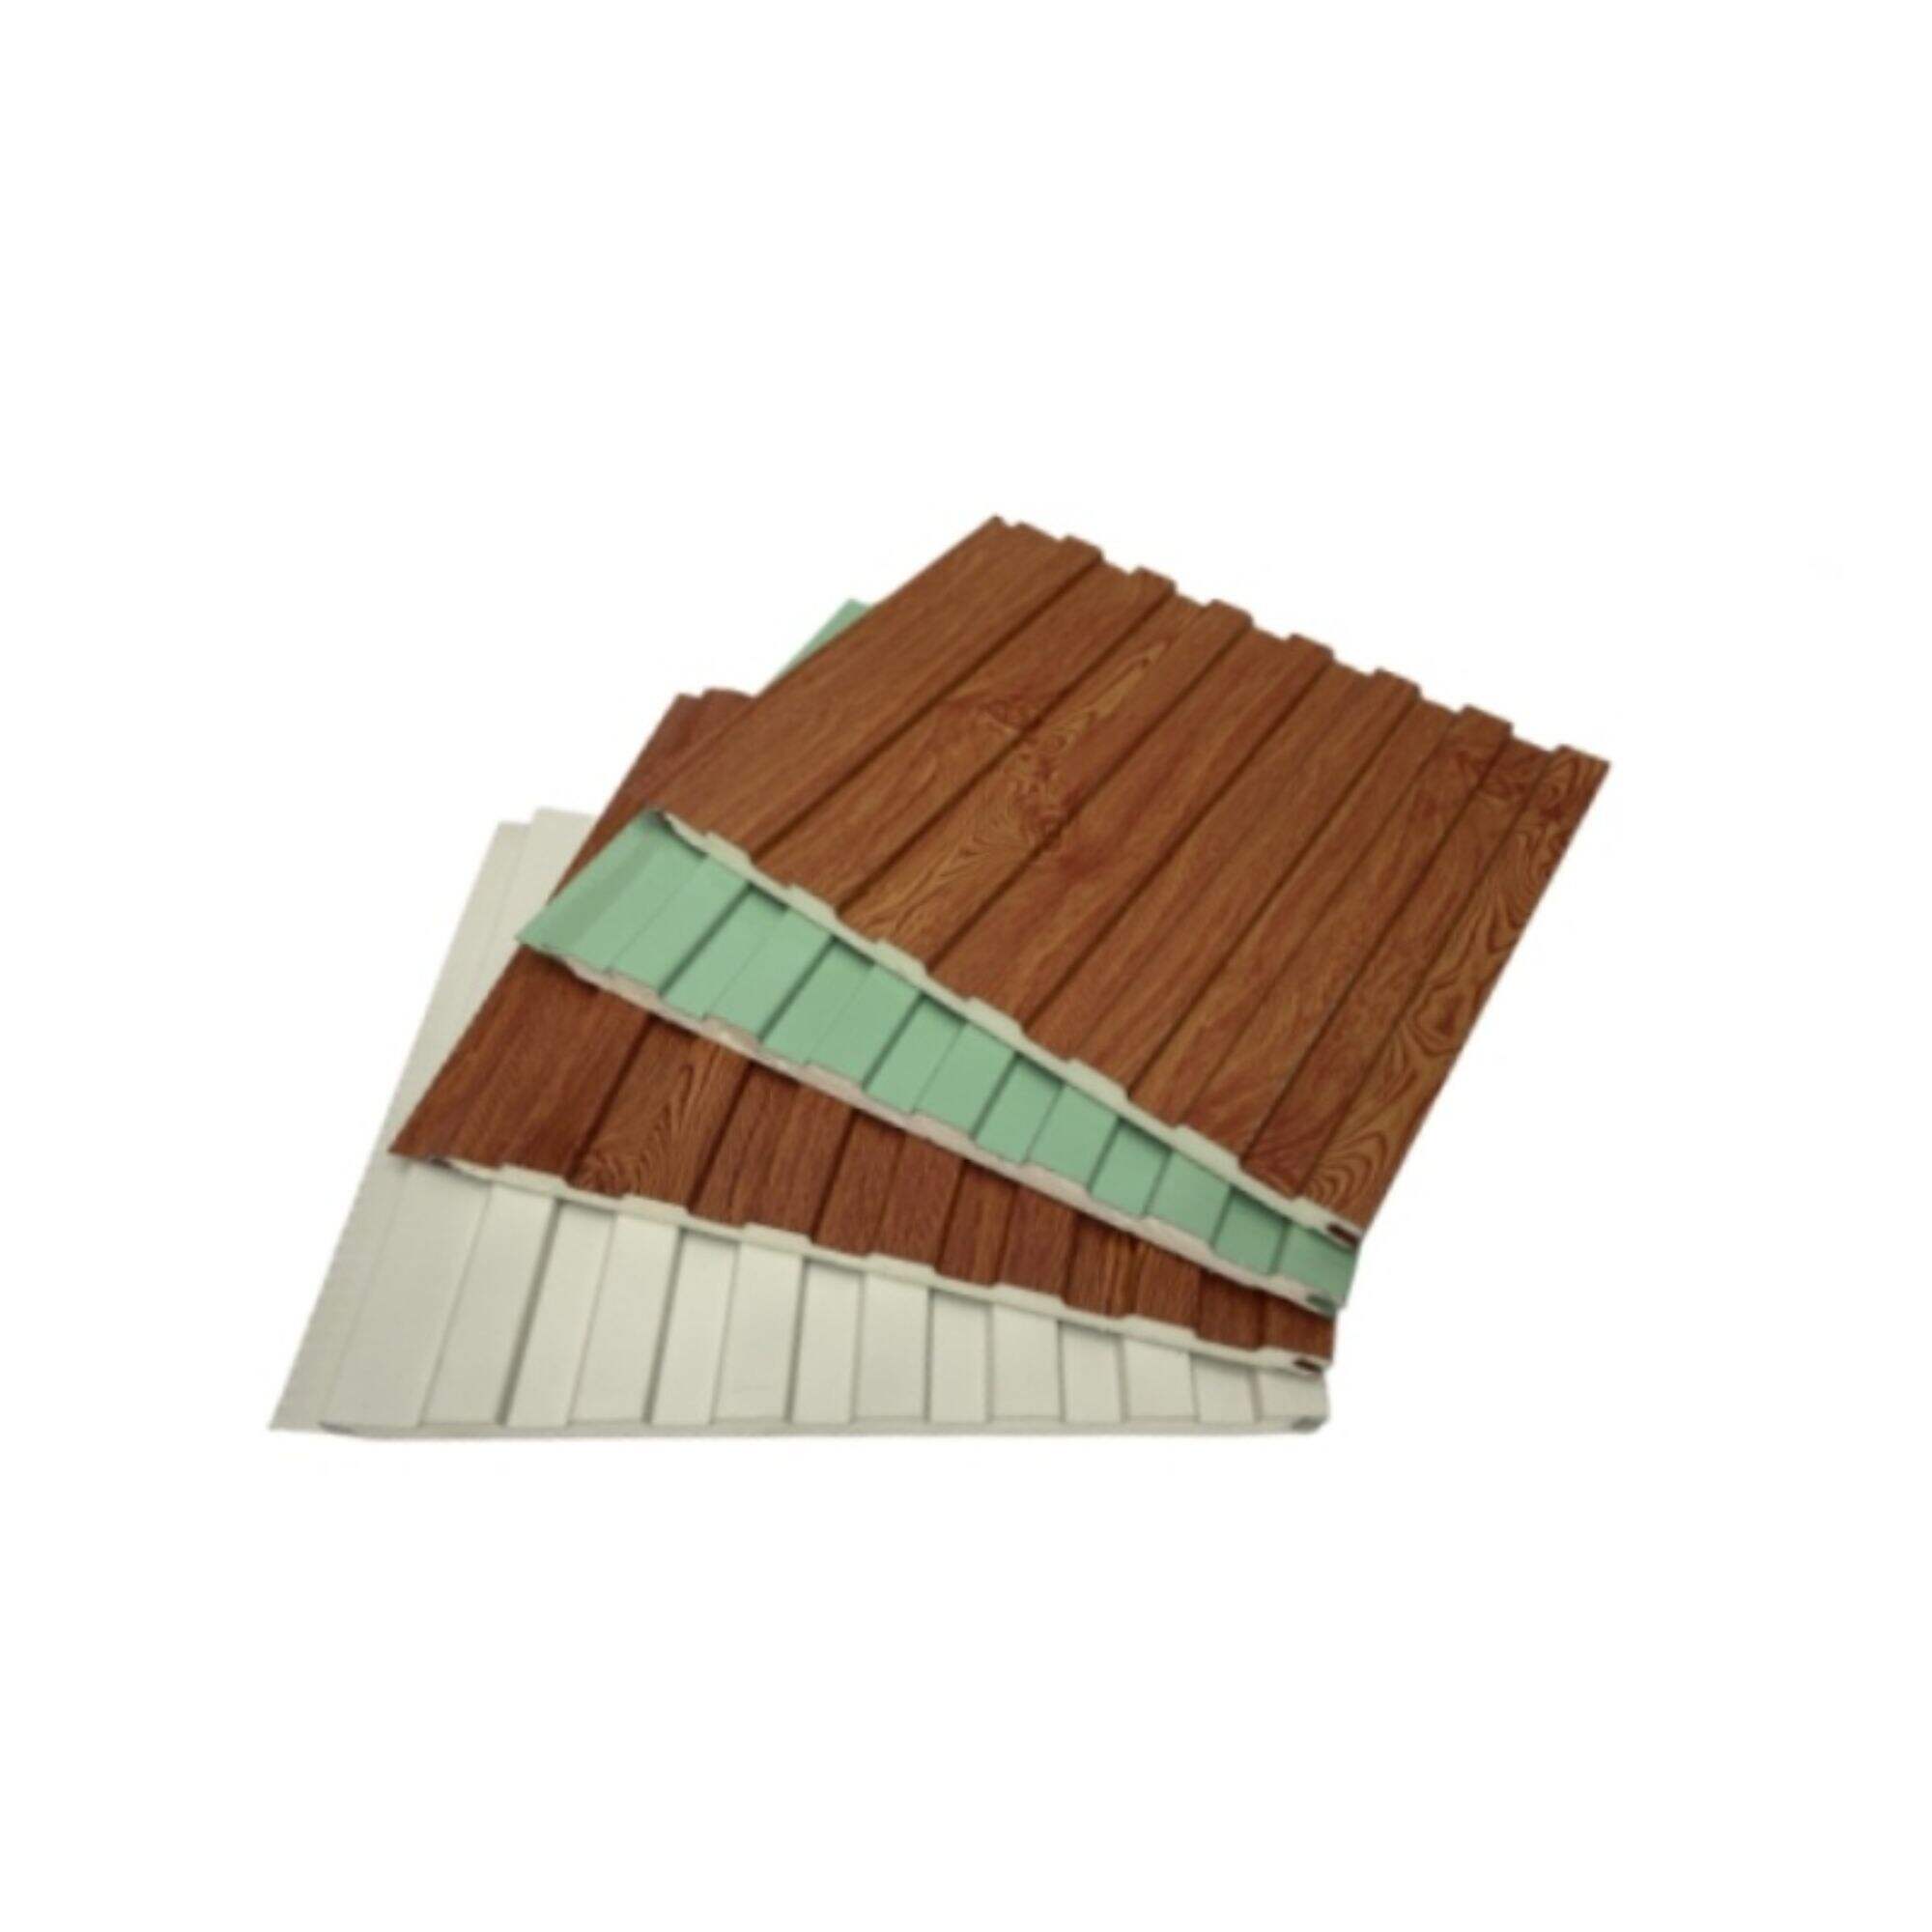
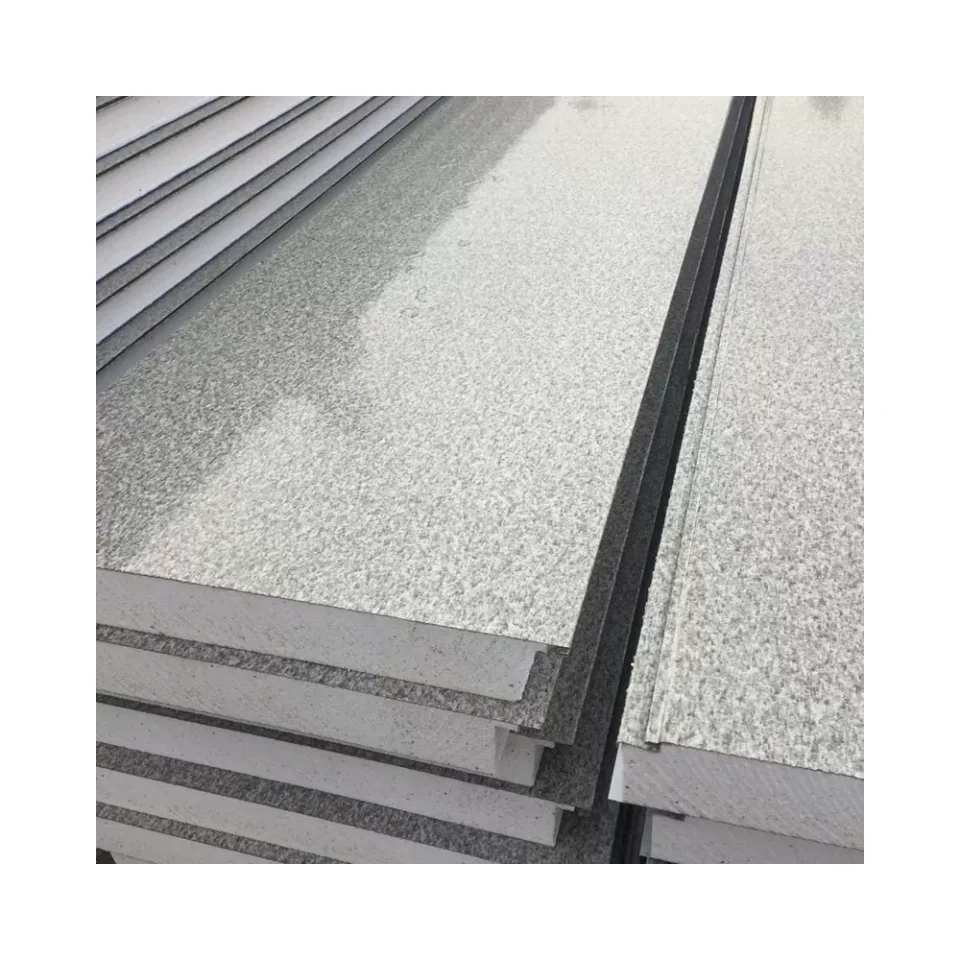
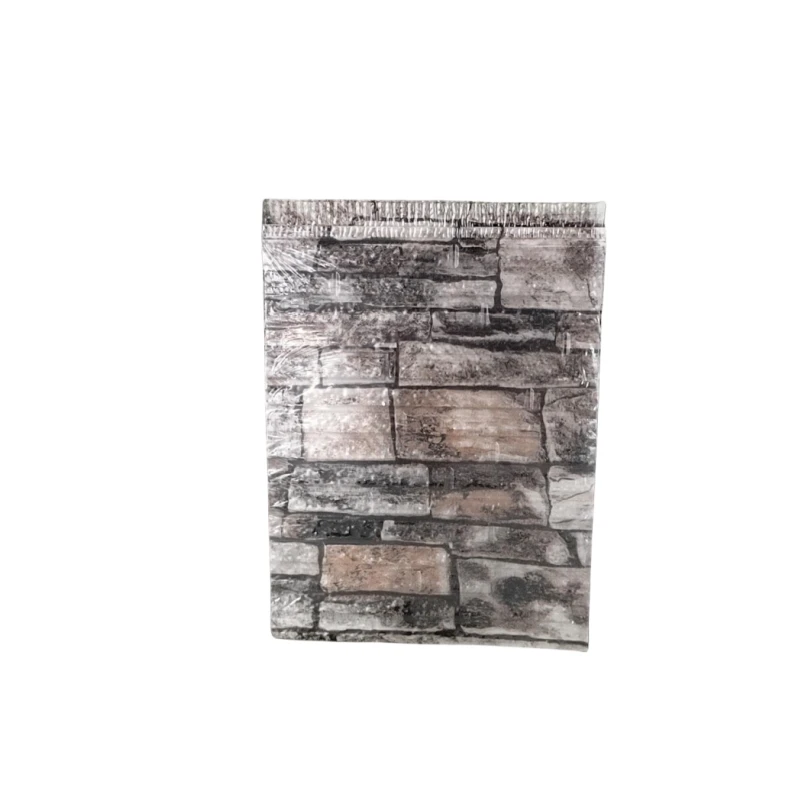
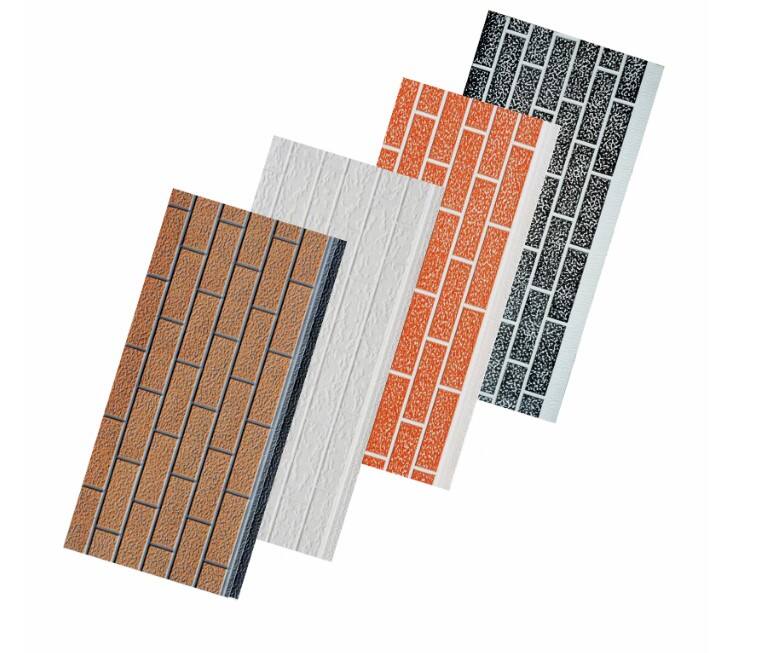
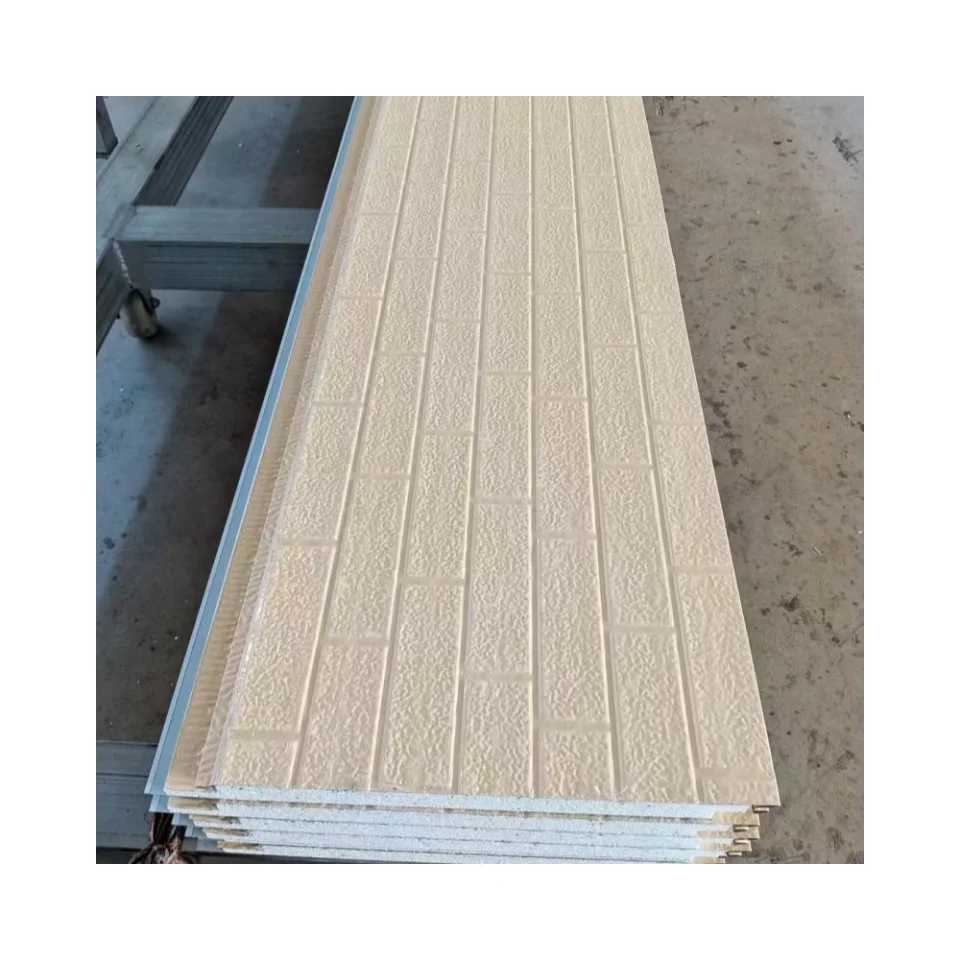
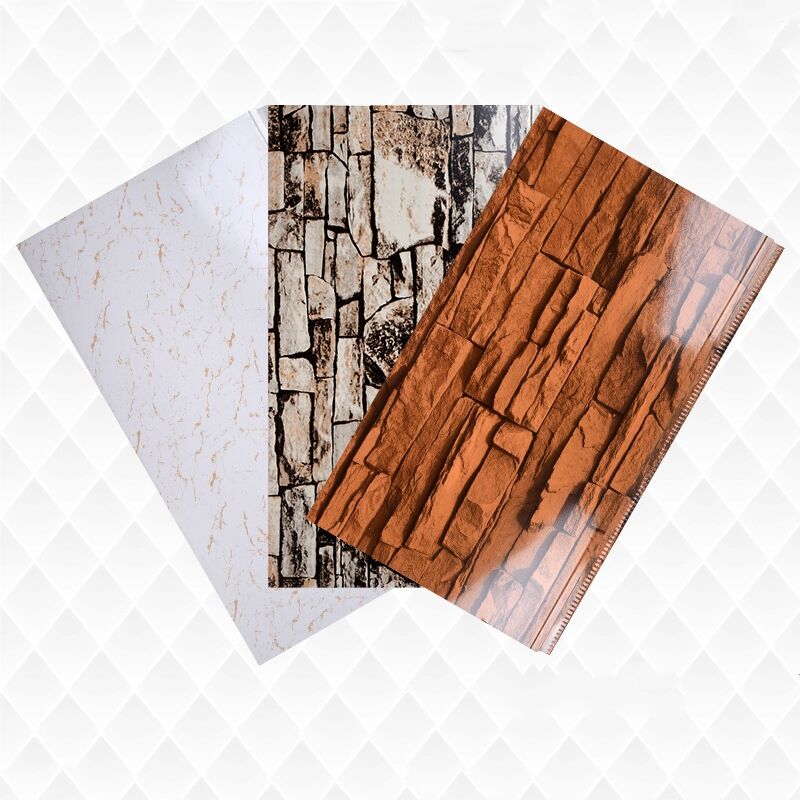
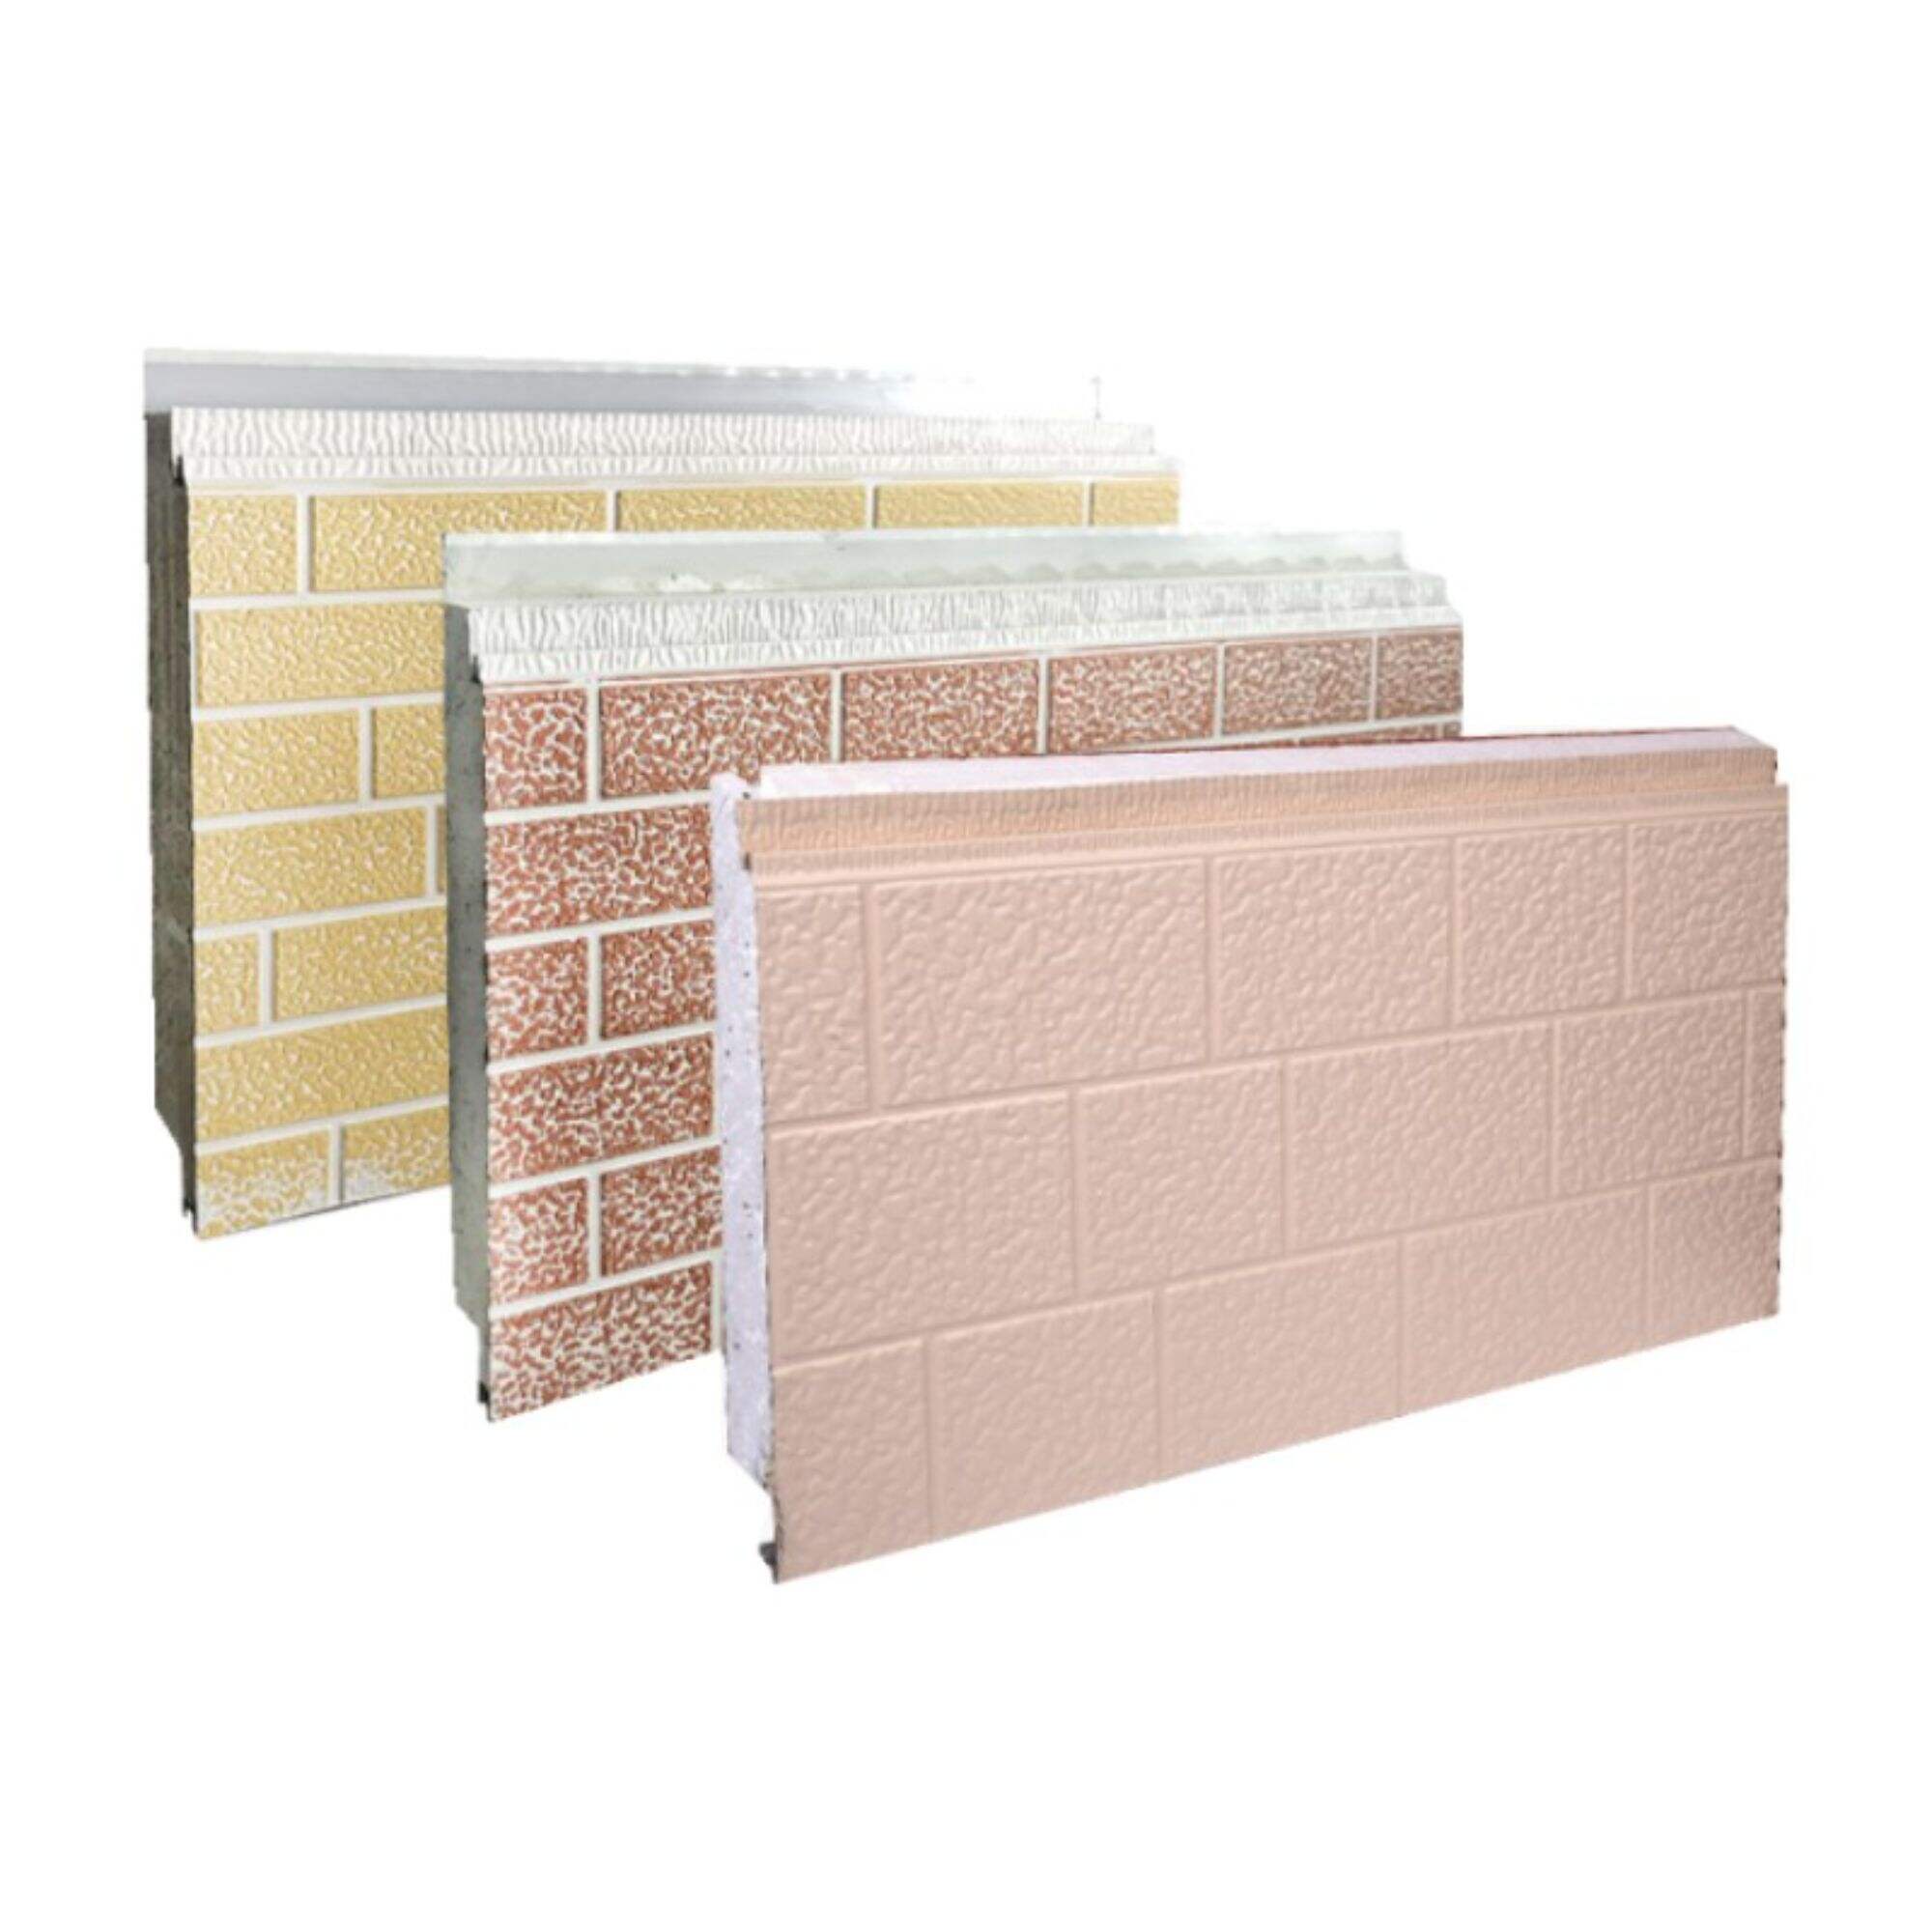
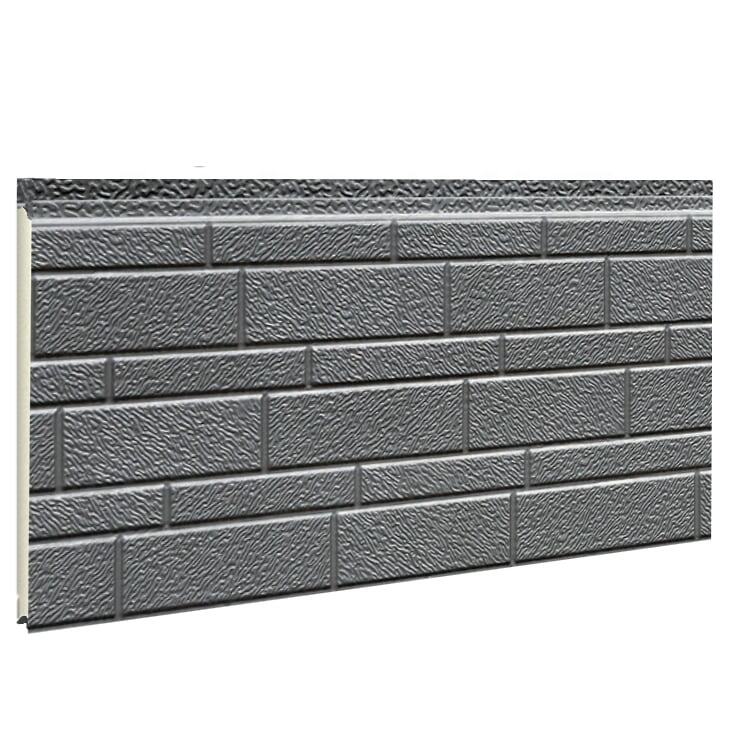
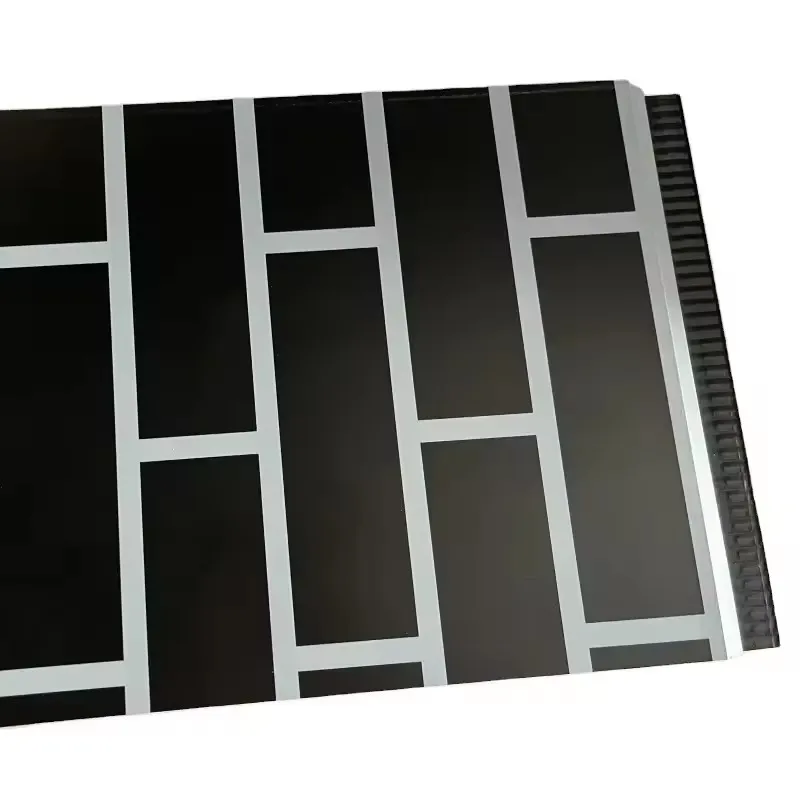
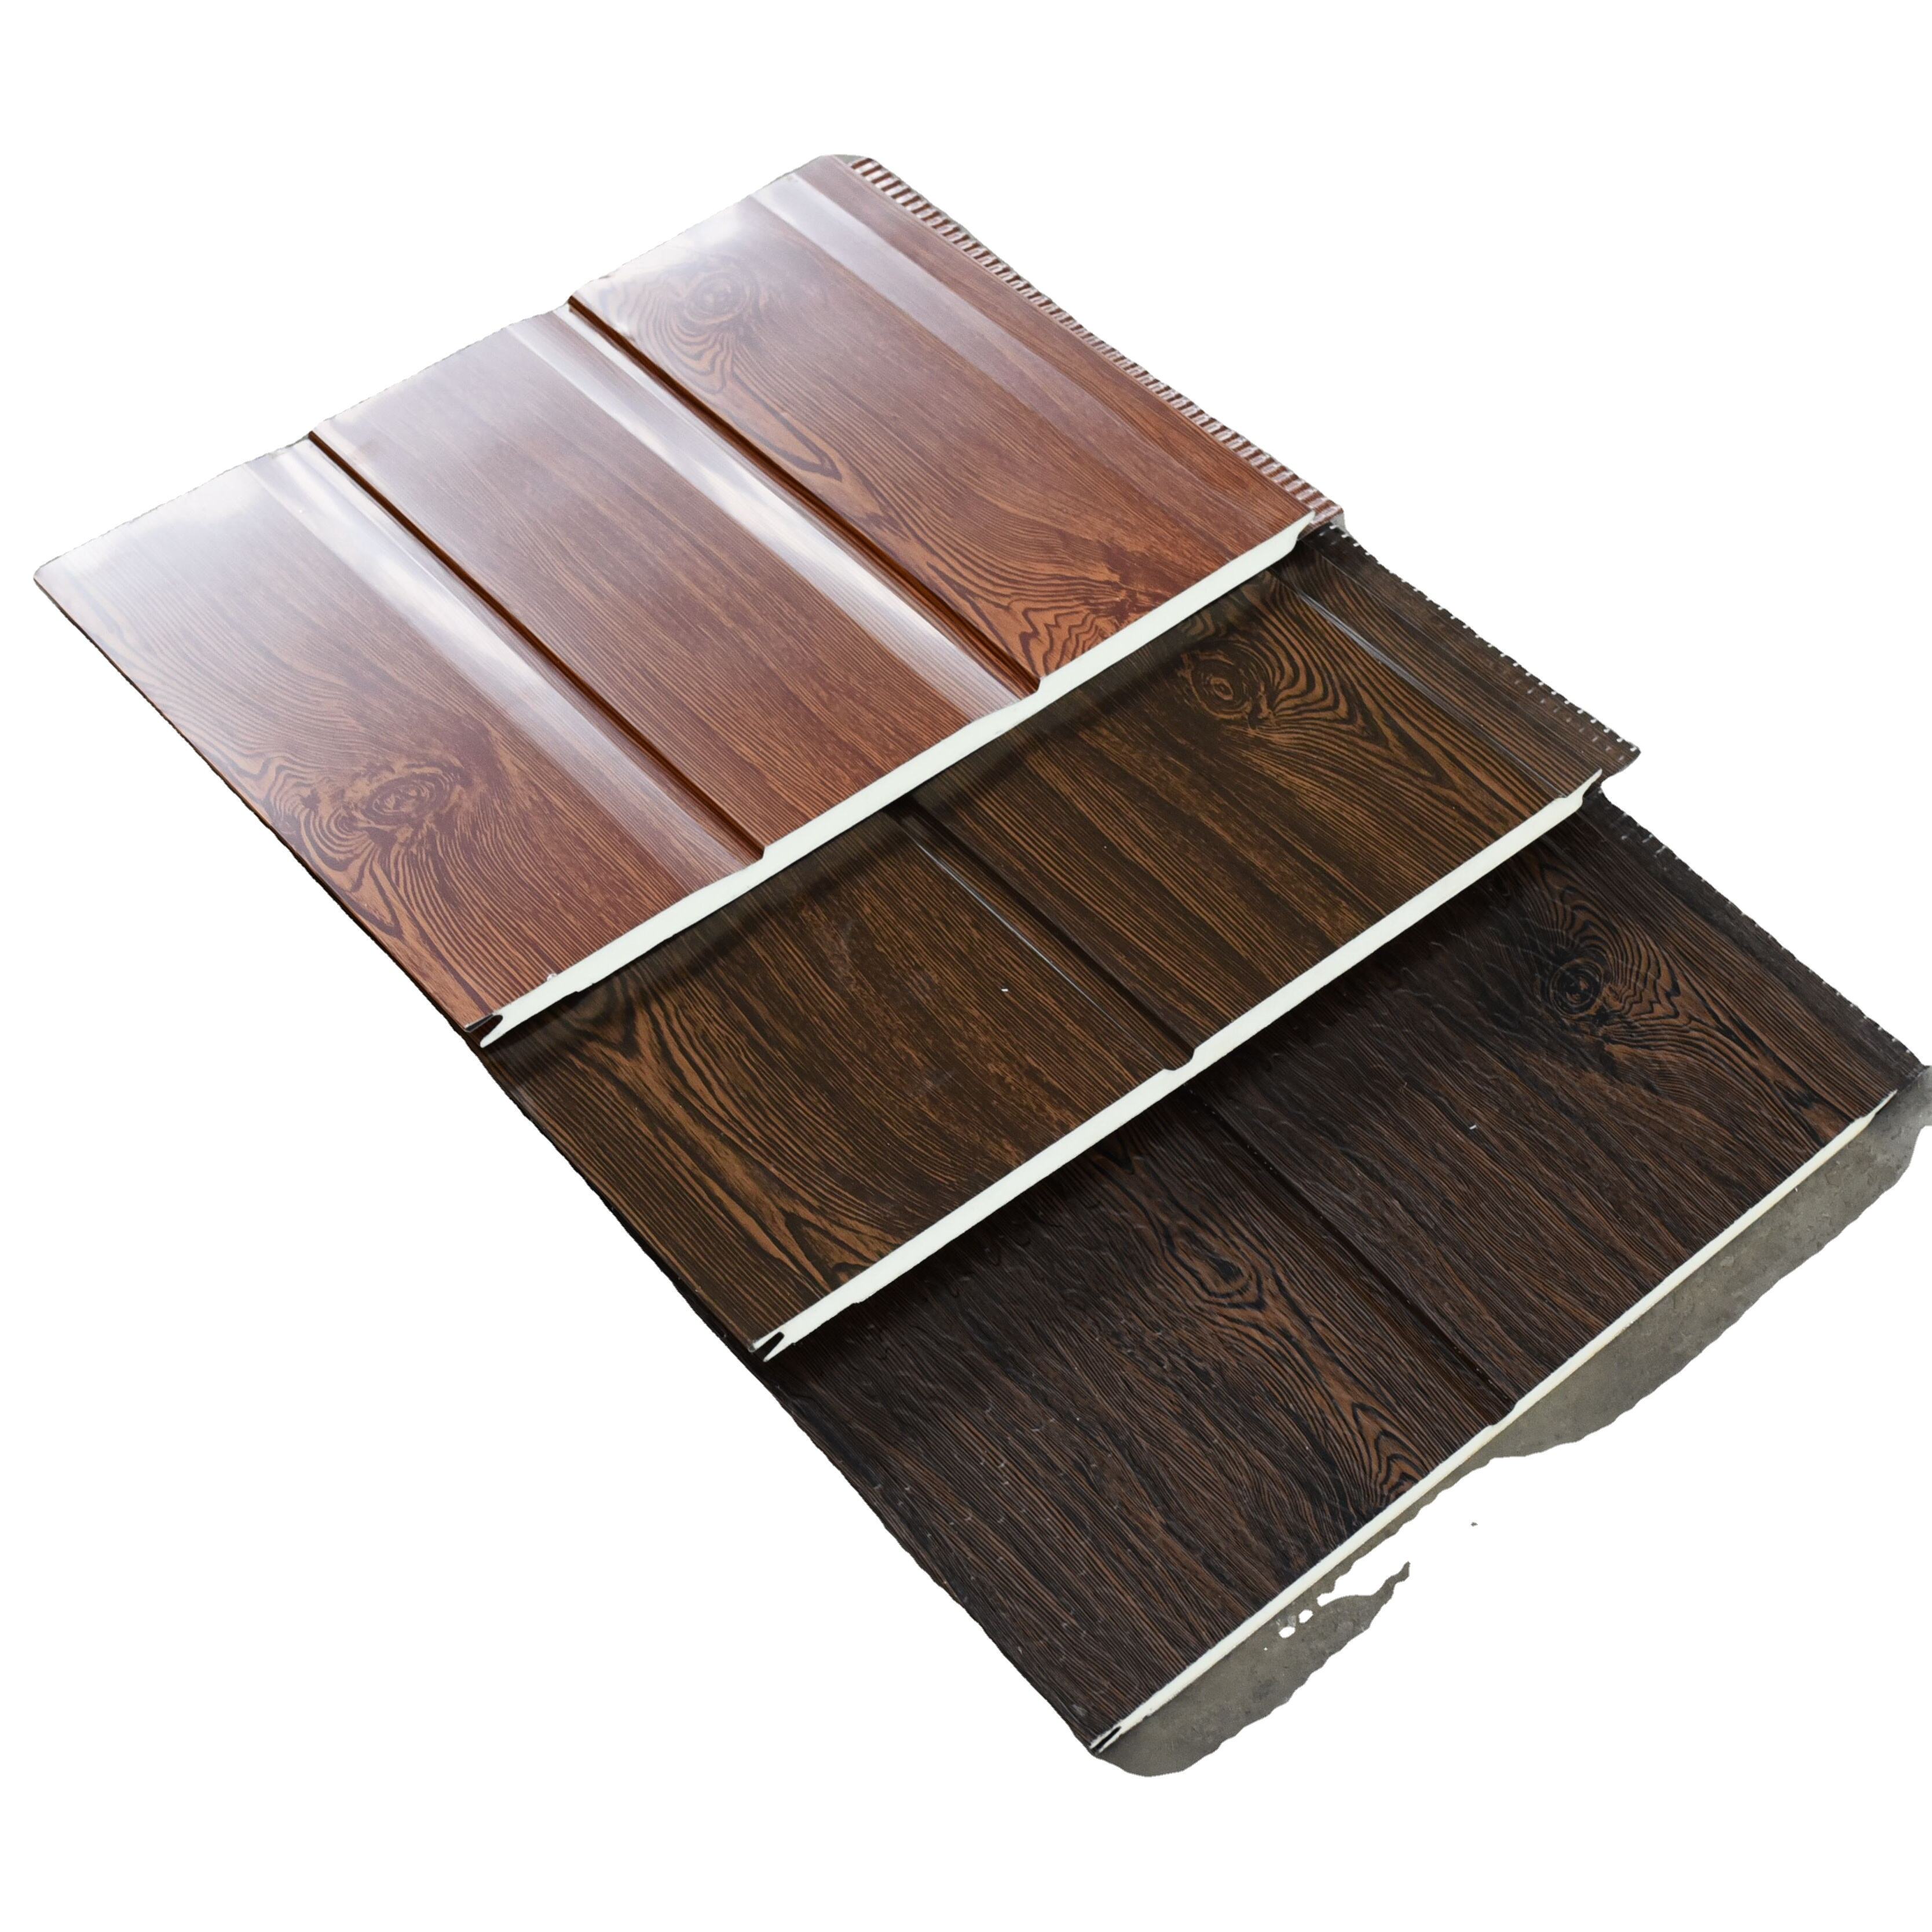
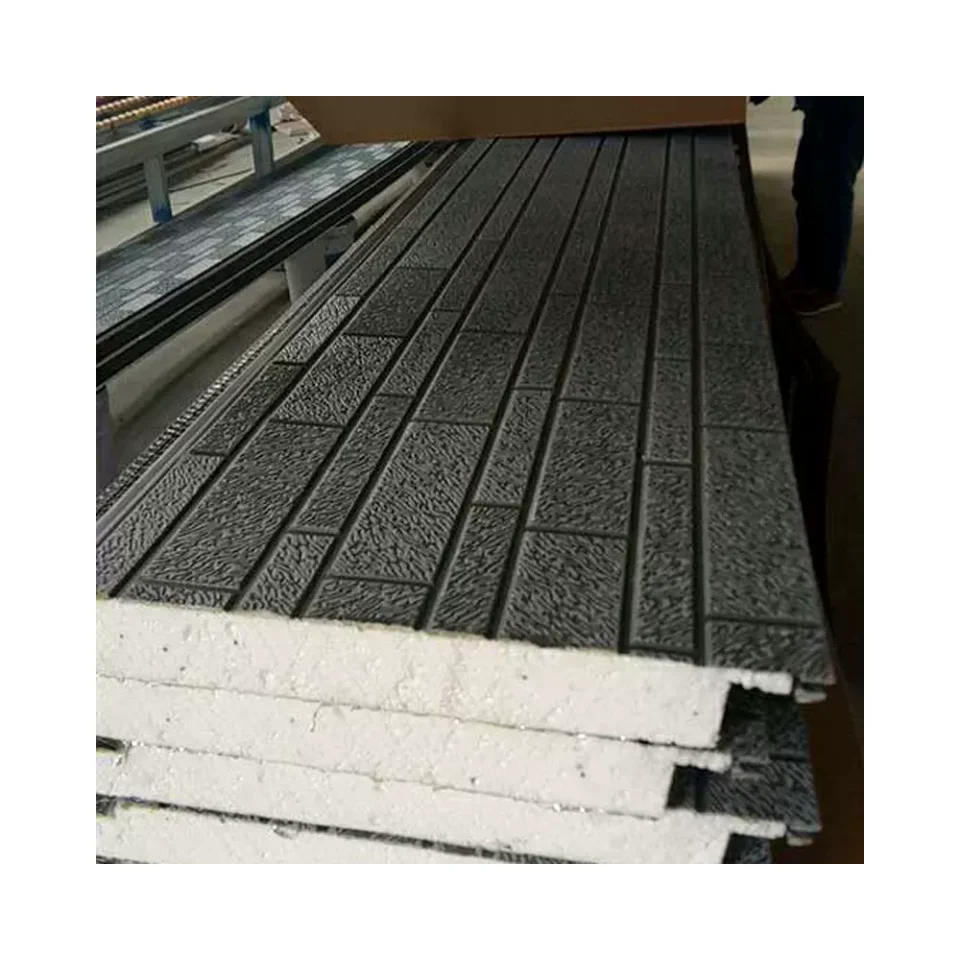
Metal Decorative Sandwich Panel (16mm PU Core) Installation Guide Key Accessory Usage
This guide details the proper installation methods for essential accessories used with 16mm thick Metal Decorative Sandwich Panels (also known as composite metal wall panels or PU core metal siding). Correct accessory usage ensures a durable, weatherproof, and aesthetically pleasing facade.
Materials: Metal Decorative Sandwich Panel (16mm thickness, Polyurethane insulation core), Starter Trim, J-Channel (Finish Trim/Stopper), H-Profile (Joint Cover), Outside Corner (Large Radius), Window/Door Trim (J-Trim or Perimeter Trim), Inside/Outside Corner (Standard), Invisible Starter System.
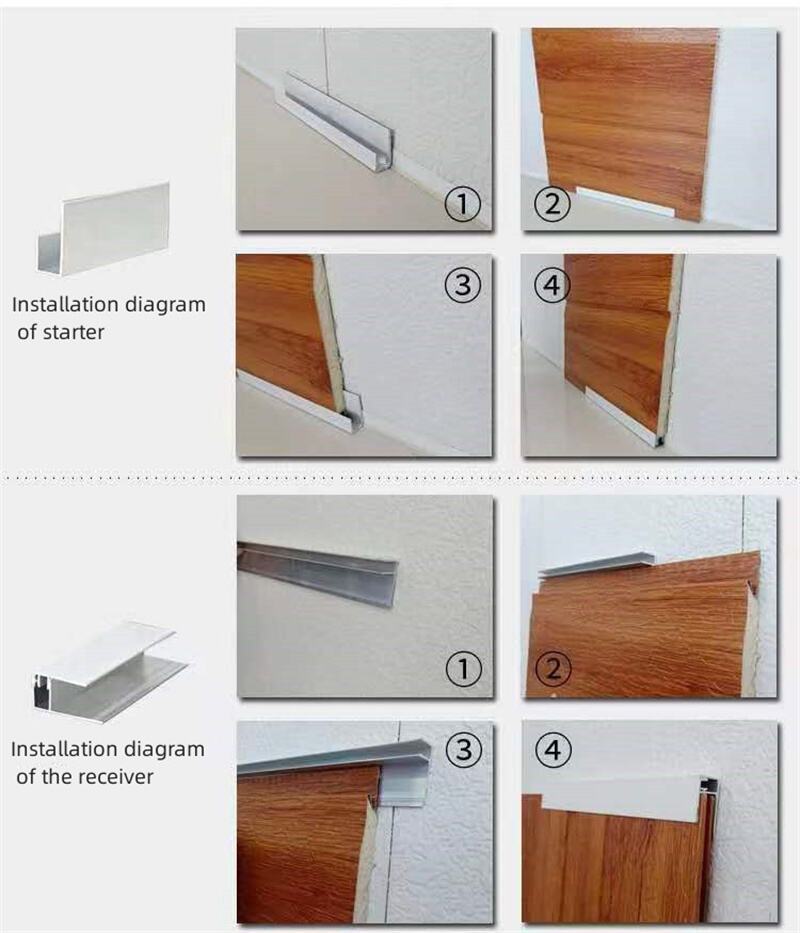
1. Starter Trim (Base Starter)
· Purpose: Provides a level, secure base for the first metal siding panel and protects the insulation core from ground moisture and pests.
· Installation: Securely fasten the starter trim horizontally along the bottom chalk line using appropriate screws into the structural substrate (battens or framing). Ensure it is perfectly level. The lip of the starter trim engages with the bottom groove of the first metal decorative panel. The trim's height should slightly exceed the panel thickness to shield the core.
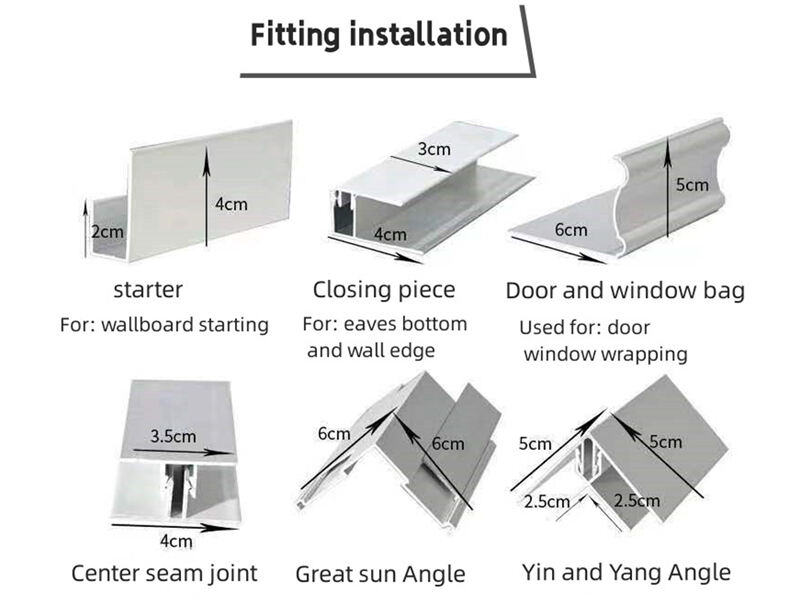
2. J-Channel (Finish Trim / Stopper)
· Purpose: Used at the top of the wall, around roof eaves, and often around windows/doors (unless specific window trim is used) to receive and secure the cut edges of the metal sandwich panels.
· Installation: Fasten the J-channel securely along the top line, around eaves, or along the perimeter of openings. The channel depth must accommodate the 16mm panel thickness. Panels slide into the channel. Ensure channels are level/plumb and allow for slight panel expansion. Overlap channel joints by at least 25mm.
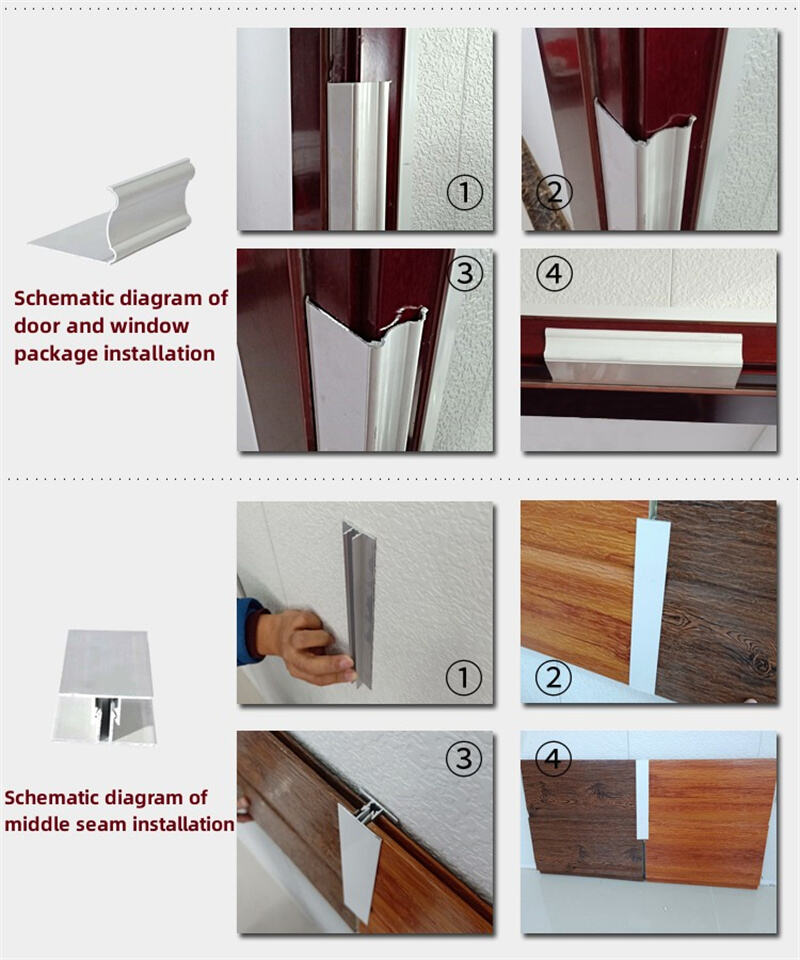
3. H-Profile (Joint Cover / Center Strip)
· Purpose: Creates a clean, vertical seam between two adjacent metal siding panels running vertically, covering the cut edges and providing a structured joint.
· Installation: Install the H-profile vertically over the underlying batten or framing before the panels. Ensure it is perfectly plumb. The legs of the "H" create channels. Slide the cut edge of the first metal decorative sandwich panel into one side. Slide the adjacent panel into the opposite side of the H-profile. Secure the panels through their side laps as per manufacturer specs. The H-profile covers the joint.
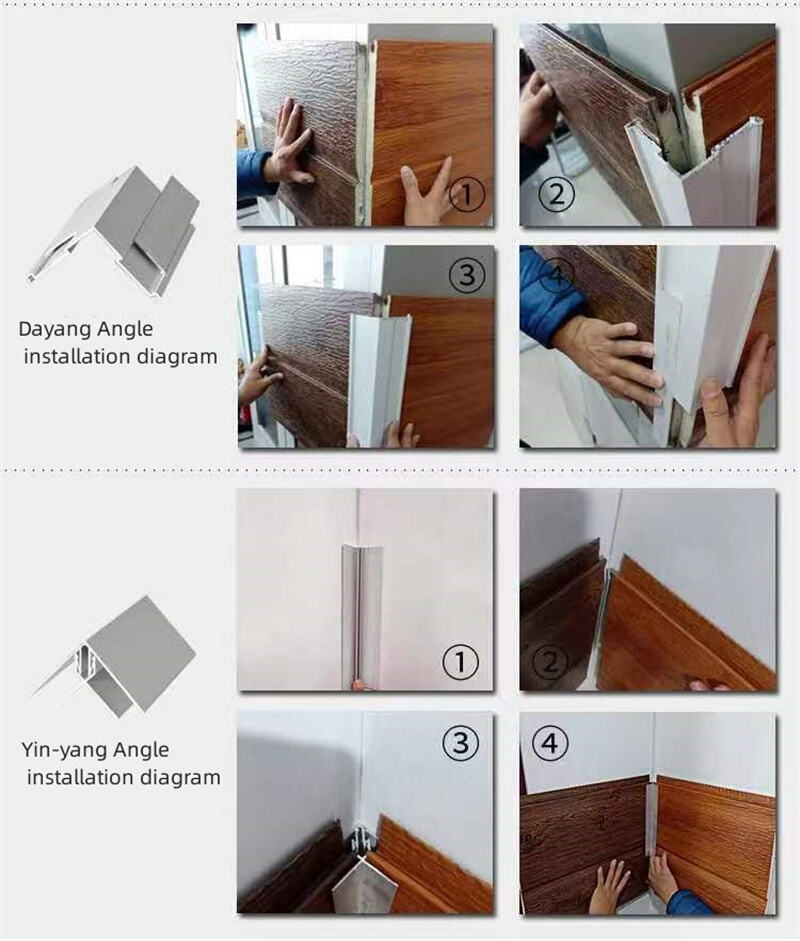
4. Large Radius Outside Corner
· Purpose: Protects and finishes the external corners of the building where two metal cladding walls meet at 90 degrees, featuring a smooth, rounded profile.
· Installation: Position the corner trim over the corner battens or framing. Ensure it is plumb. Fasten securely through the designated flange. The legs of the corner trim extend onto each adjoining wall surface. Install the metal decorative panels on each wall, sliding their cut vertical edges into the respective legs of the corner trim. Follow the same overlap sequence as with the H-profile.
5. Window/Door Trim (J-Trim / Perimeter Trim)
· Purpose: Frames window and door openings, receiving the cut edges of the metal sandwich panels and providing a finished transition.
· Installation: Install the trim around the perimeter of the rough opening, fastened securely to the framing/battens. Ensure it is level and plumb. Mitre cuts are needed at corners for a clean finish. The trim forms a channel. Cut the metal cladding panels to fit precisely against the opening. Slide the cut edges of the panels into the channel of the window/door trim.
6. Standard Inside/Outside Corner
· Purpose: Standard profiles (often sharper angle than the large radius) for finishing internal (concave) and external (convex) 90-degree corners where walls meet.
· Installation: Similar to the large radius corner. Install the appropriate inside or outside corner trim plumb over the corner framing/battens and secure. Slide the cut edges of the metal decorative panels on each adjoining wall into the legs of the corner trim. Ensure tight fit and correct sequencing.
7. Invisible Starter System
· Purpose: Provides a concealed base fixing for the first metal decorative sandwich panel, offering a cleaner aesthetic compared to a visible starter trim.
· Installation: A specialized clip or bracket is fastened directly to the bottom batten or framing along the starter line. The first metal siding panel is then lowered onto this clip, engaging a hidden groove or hook system within the panel's bottom edge. The panel's face covers the fixing point completely. Subsequent panels lock onto the first panel as usual.
General Considerations for Metal Decorative Sandwich Panels:
· Substructure: Ensure a level, plumb, and robust batten or framing system is in place according to structural calculations.
· Fasteners: Use only manufacturer-recommended corrosion-resistant screws (typically with EPDM washers). Drive screws perpendicular to the panel surface, snug but not overtightened (avoid compressing the PU core).
· Expansion/Contraction: Allow for thermal movement. Follow specific guidelines for end gaps and fastener placement within slots (if applicable). Do not rigidly fix panels.
· Cutting: Use fine-tooth saw blades (carbide-tipped) or specialized panel shears for clean cuts. Seal exposed cut edges of the PU core with compatible sealant or end caps as specified.
· Weatherproofing: Maintain correct overlaps (typically min. 50mm horizontally, 100-150mm vertically). Seal end joints in H-profiles and corners if recommended. Ensure flashings integrate correctly with the cladding system.
· Safety: Always follow appropriate safety protocols when working at height and with tools.
Recommended Products

Hot News
-
Premium Metal Carved Panels & Cleanroom Panels: Customizable Core Materials for Industrial & Construction Needs
2025-12-25
-
Shandong Qigong Metal Engraving Panel Company launched the latest panel pattern at The 16th China Int'l Integrated Housing Industry &Building Industrialization Expo
2024-10-17
-
October 2023 Malaysia Building Materials Exhibition
2024-01-25
-
August 2023 Guangzhou Housing Expo
2024-01-06
-
June 2023 Foreign Customers Visit The Factory
2024-01-06
-
April 2023 Canton Fair
2024-01-06